Setup Orange Pi Zero 3 as a Debian Server
I got the board several days ago, and now it’s time to get it to work. However I got stuck on WiFi configuration again though I did it many times before. So I write this post to make the steps more clear in my mind.
About the board
It’s Orange Pi Zero 3, a really small and powerful single-board computer! Here is its introduction from official:
Orange Pi Zero 3 is powered by Allwinner H618 quad-core Cortex-A53 processor, Arm Mali-G31 MP2 GPU, supports OpenGL ES 1.0/2.0/3.2, OpenCL 2.0, Vulkan 1.1, etc.,with 1GB/1.5GB/2GB/4GB memory options, decoding of multiple video formats is supported, and the Micro-HDMI output supports 4K display. In addition, Orange Pi Zero 3 can also be extended with headphones, TVout, USB2.0, IR reception and other functions via 13Pin expansion ports with an adapter board, in addition to the 26Pin expansion function port on the board, further enriching the functional interface of the motherboard.
In my case, it has 4GB LPDDR4 which makes it sufficient for my various services.
Here is what I got:
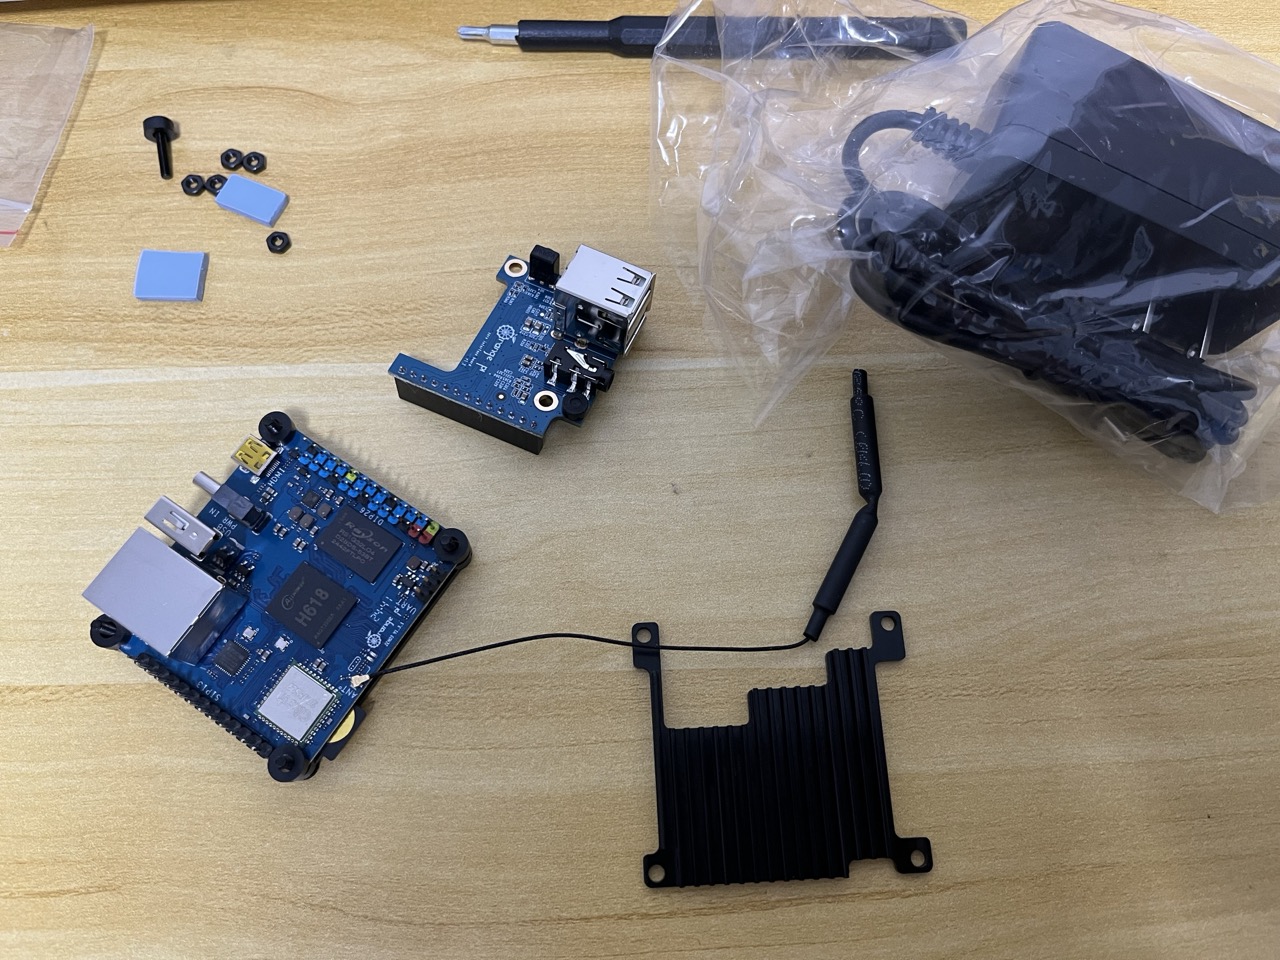
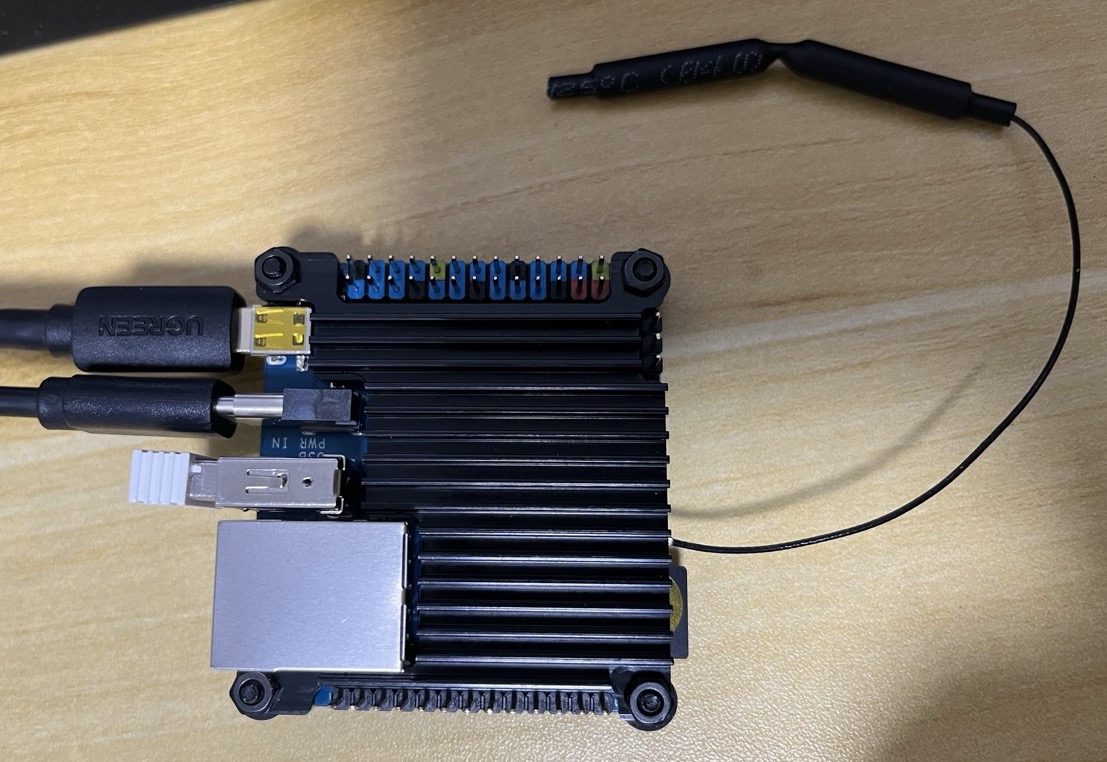
It’s easy to setup, and here is finally what I got:

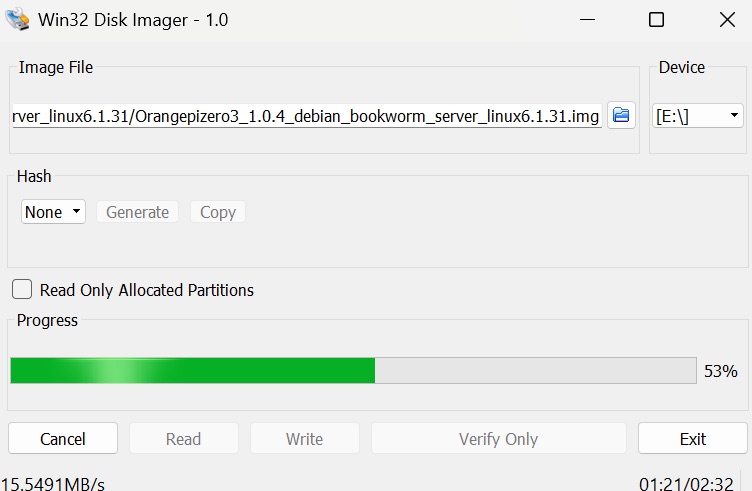
Burn the image
There are several images on official site:
- Orange Pi OS(Arch)
- Ubuntu Image
- Debian Image
- Android Image
- OpenWRT
I chose debian as it’s one of my most familiar distros, there are also imaging tools on official site:

Burning…
Insert sd card and power on:
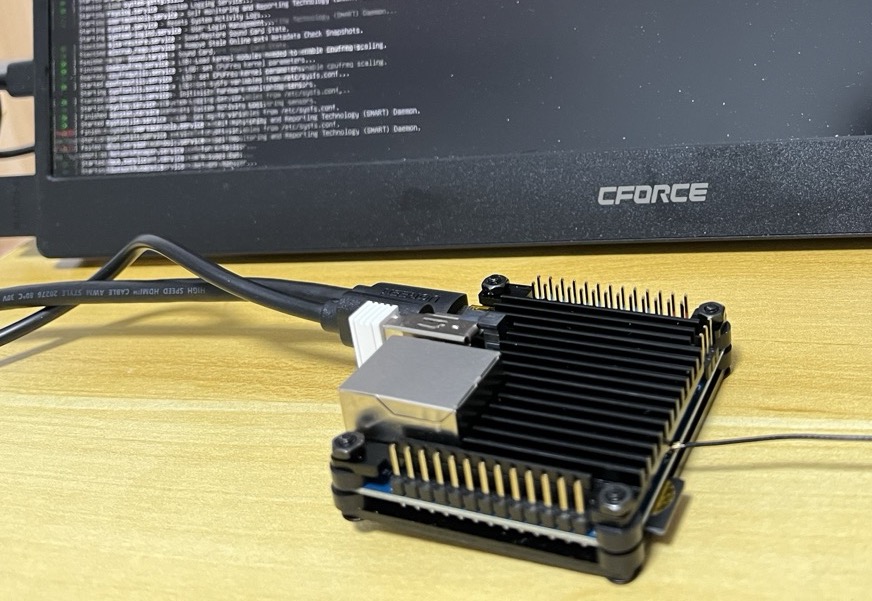
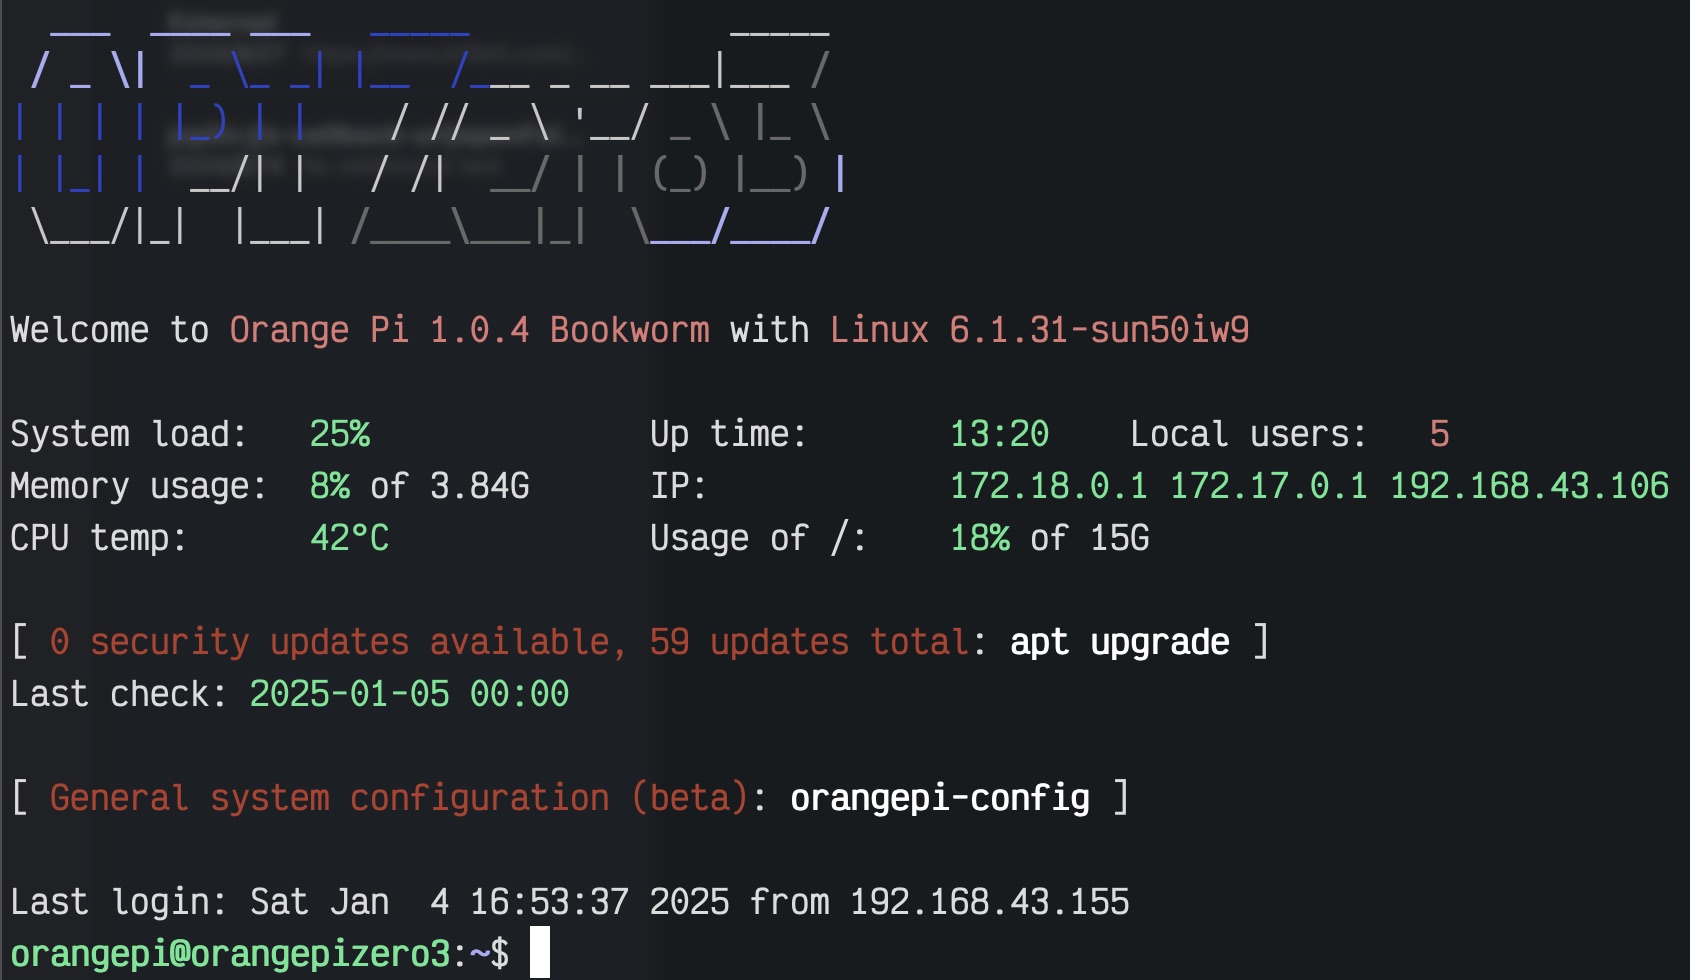
Finally got to the shell (BTW, the default password for orangepi is orangepi):
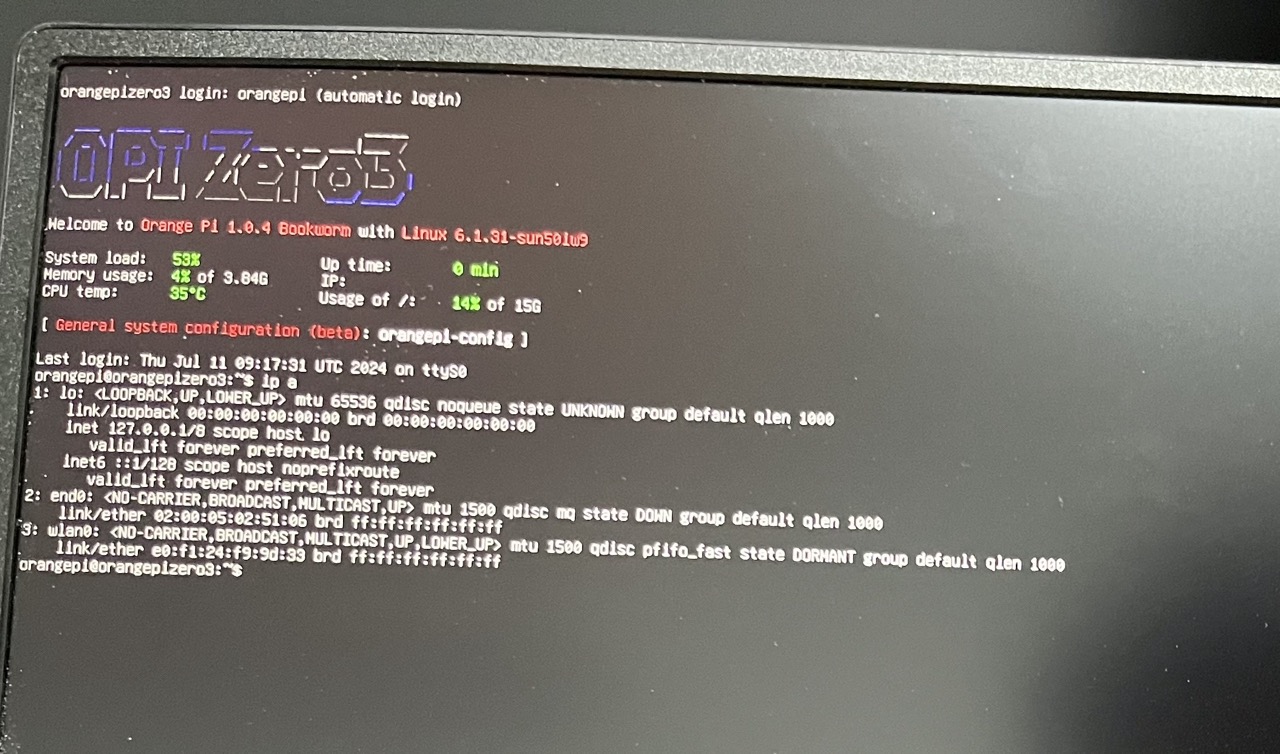
Basic setup
WiFi
The first thing to do about this new sever must be setting up wifi connection cause I don’t have another net cable.
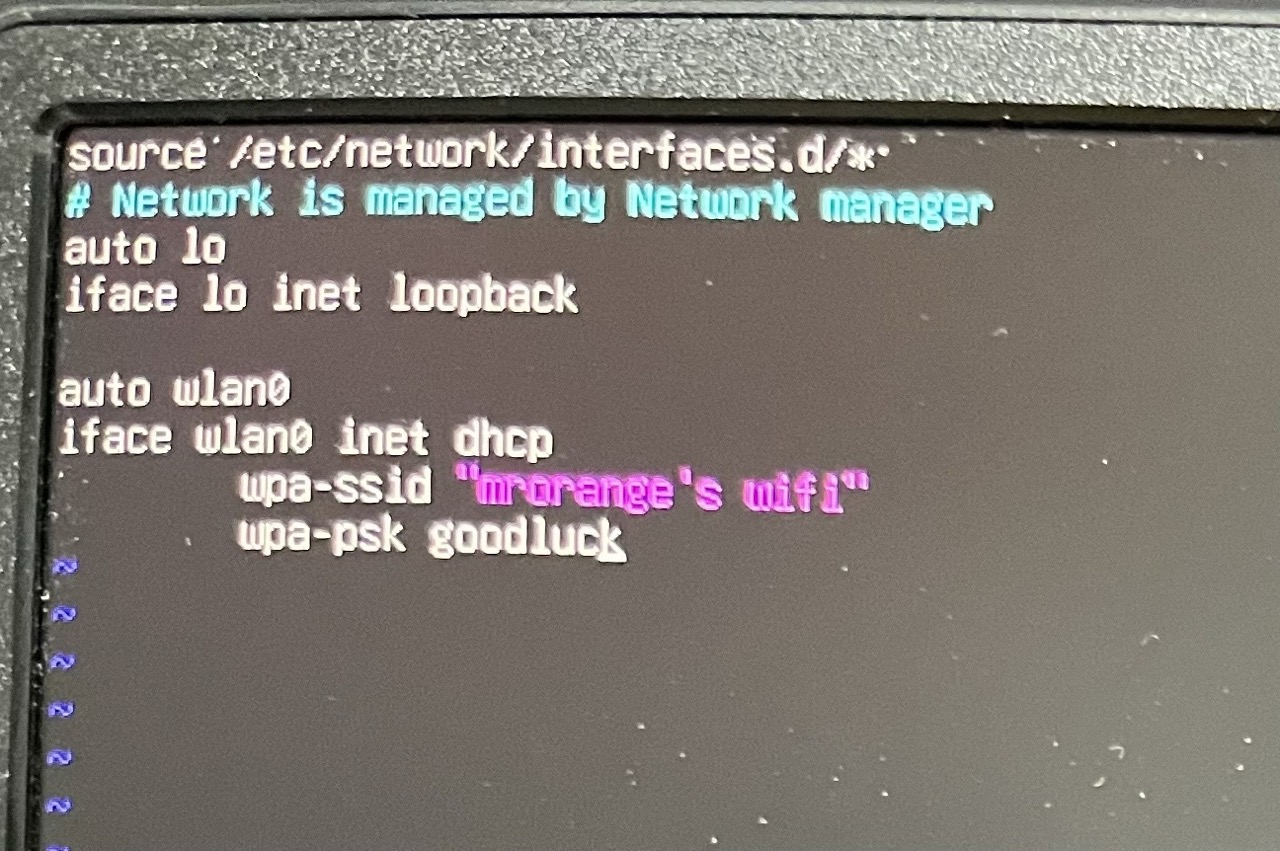
There are generally three choices or tools on command line to manage wifi connections: iwconfig, wpa_supplicant and nmcli. After asking chatgpt for assistance, I finally decide to leave all of them behind and just edit /etc/network/interfaces to setup the wifi.
Actually when I asked chatgpt about how to setup wifi connection on linux, it didn’t mention editing /etc/network/interfaces. I happened to know it when I was configuring network for pve, and it is really a simple and basic way to setup wifi connections. And this time, I happened to know that I can setup a roaming wifi, so it can auto connect to different wifi if the current wifi connection corrupts, it’s useful but I don’t need it for the moment.
Edit /etc/network/interfaces and add following like this
1 | auto wlan0 |
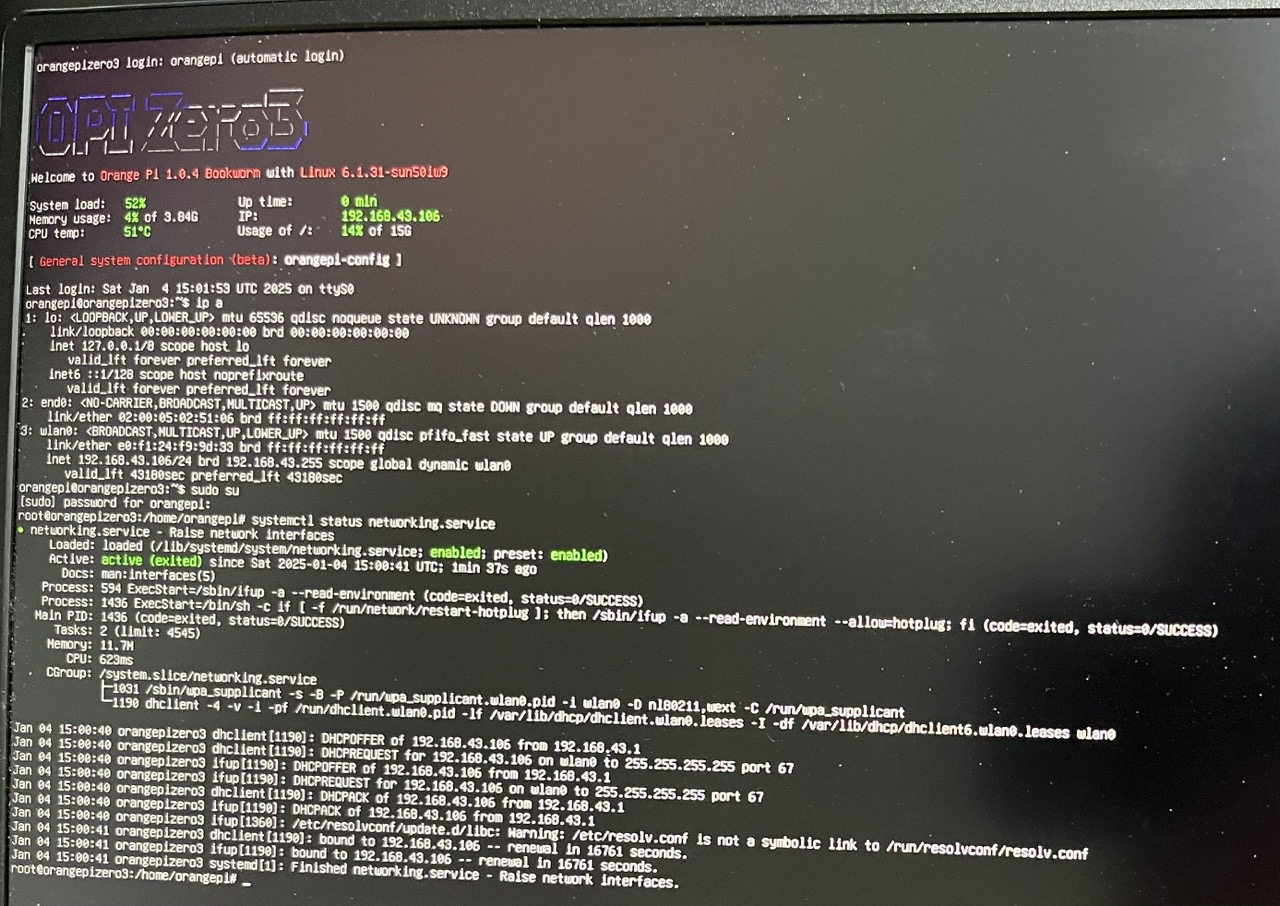
Save and then restart, then the wifi will automatic be connected and got an ip:
Mirror source
The default mirror source is rather slow, so I change /etc/apt/sources.list to the following:
1 | deb http://mirrors.ustc.edu.cn/debian bookworm main contrib non-free non-free-firmware |
and remove the useless source in /etc/apt/sources.list.d/docker.list.
Shell
It surprised me that the image preinstalled zsh and oh-my-zsh, also tools like tmux, git, docker. here is the default .zshrc file:
1 | # If you come from bash you might have to change your $PATH. |
I leave the shell configurations be cause it is well enough.
Docker
Note that it’s defaultly installed docker, however, I can’t use docker compose to start a container from compose file cause it said docker: 'compose' is not a docker command..
I have to reinstall the docker. It’s rather easy, just run:
1 | curl -fsSL https://get.docker.com | sh |
After waiting for a while, it’s done. Now I can use docker compose to start a container from compose file.
Disable auto login (optional)
By default, when I’m use the tty to start a session, it will automaticly logs in to the terminal as orangepi. But I don’t want it to be like this after I setted it up so that it is necessary to disable it. There is document on official doc site on How to set automatic terminal login in linux system, the url is at the end of the post.
Use the following command to set the root user to automatically log in to the terminal
orangepi@orangepi:~$ sudo auto_login_cli.sh rootUse the following command to disable automatic login terminal
orangepi@orangepi:~$ sudo auto_login_cli.sh -dUse the following command to set the orangepi user to automatically log in to the terminal again
orangepi@orangepi:~$ sudo auto_login_cli.sh orangepi
Summary
Orange Pi Zero 3 is small, powerful and flexible. I can burn different images to different sd cards to achieve easily switching to different operating systems and performing various expriments which would be a quite fancy journey.
In this blog post, I just present the most basic use case for the Orange Pi Zero 3 and explore its capabilities and there are a lot more to be explored. Wish it can help those who are new to Orange Pi Zero 3.
Feel free to leave comments below! :)